There is a cool breeze in the air which means fall isn't far away. Our goal is get to get the tiny house finished before the first snowfall. In the Northeast, from our 2 years experience, that usually occurs in early November. Feeling the cool air makes us get more motivated to stay on task.
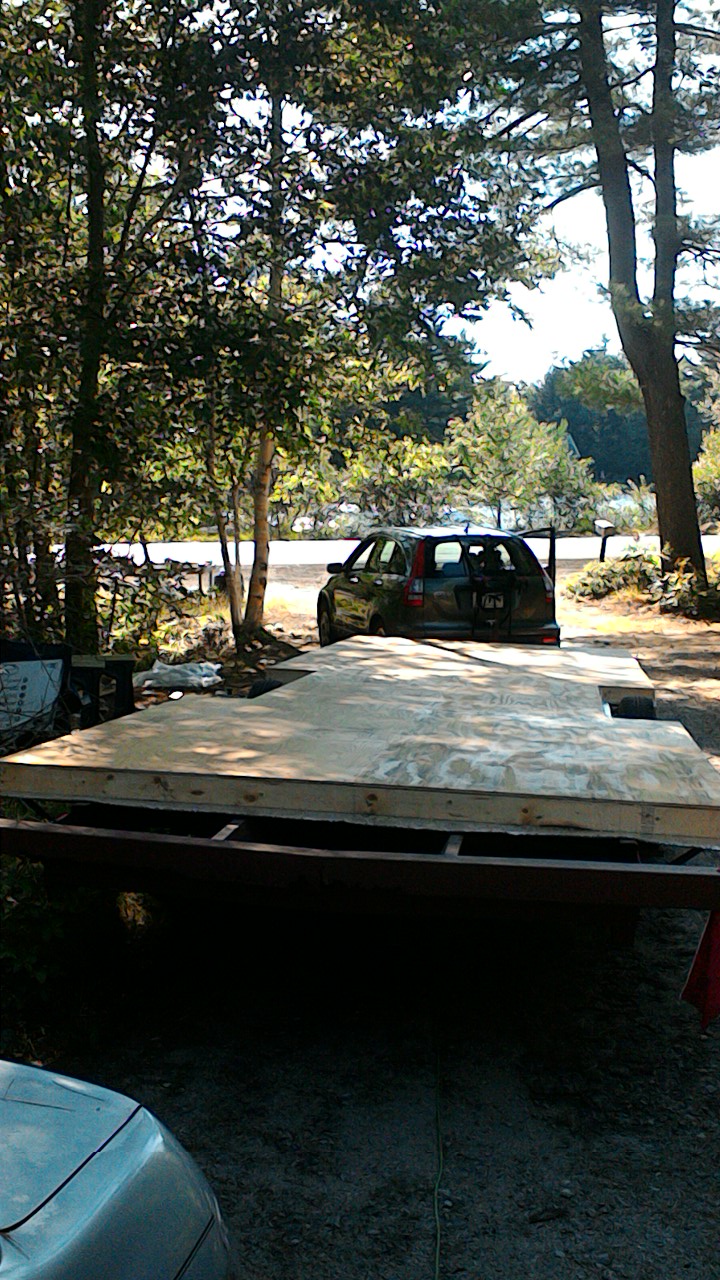
We just finished the subfloor. If you remember from my last
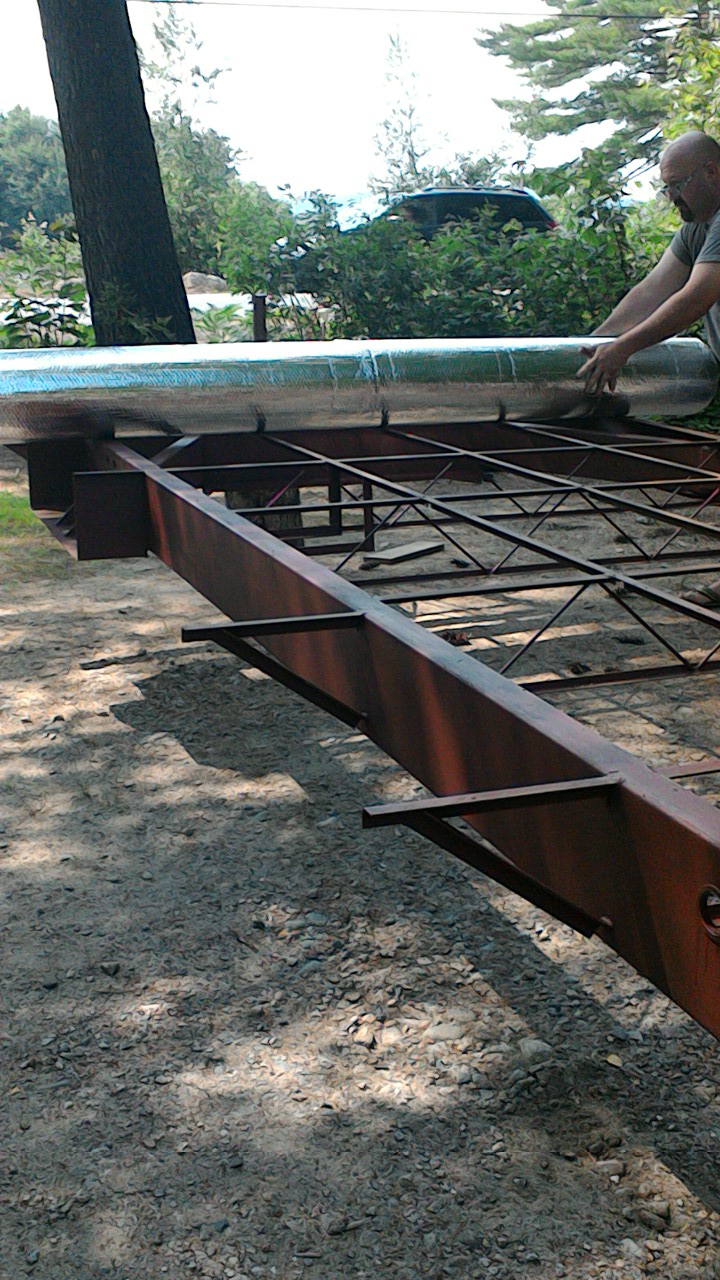
post, we put down a type of bubble wrap covered in aluminum insulation barrier and installed the floor joists. The floor joists are finished and look great. Between the floor joists is more insulation that is R19 rated and the bubble wrap insulation will add more R value.
 |
| Adding insulation |
After installing the insulation, blocking was added to the center so there would be area to screw down the plywood.
To save money and stay on budget we decided to go with a sanded plywood. This will also be our subfloor and flooring for the tiny house. Before attaching it to the joists and blocking, an adhesive will be applied on all the floor joists. This helps prevent squeaking when walking on the floor.


Since this is also our flooring we invested in some plastic to cover the flooring on rainy days. Next, I did lots of research on finding a flooring finish that wasn't toxic and hazard to our health. I personally, get terrible headaches from urethane finishes so it wasn't an option for us in a tiny space. I then thought we would use boiled linseed oil but decided against it as a flooring finish. After, much reading I came across a site,
Natural Handyman, and really liked what he said about Shellac. So that is what I decided to apply to our floor and loved that it is a non-toxic and renewable resource! I also learned that it comes from insect resin and some candy makers use it to make the shiny hard coating!
*I am not getting paid or affiliated with Natural Handyman or Zinsser (Bulls Eye)*
I only put one coat and once we have our cabinets, appliances, and other decor I will add a second coat to the exposed floor and a wax finish.
 |
| It is very thin and the plywood soaked it up like a sponge! |
 |
| It took a whole gallon and part of another to finish. This stuff dries fast! |
|
|
|
|
Once the floor was coated and allowed to dry thoroughly the next exciting step is moving it to its new home! We decided to move it once the floor was finished before it became to heavy to haul with our CRV.
 |
| Time to roll! Many prayers were said... |
 |
| Arrived without any problems! |
 |
| Putting down the stabilizing jacks and getting it level |
Now the wall building can begin! That will have to wait until the next blog. During all of this building I was doing some shopping and was able to get kitchen cabinets, countertop, kitchen sink, gutters, generator and bathroom sink for less than $450! God keeps amazing us with providing for our needs, in what seems to us, such a huge project. There is no way we could do this on our own. We serve a great and awesome God!
The kitchen items I got on Craigslist for FREE. The person didn't like the style when he bought the house so he removed them and posted the for free. I am not able at the time to get a picture of the cabinets because they are being stored in our office area and the lighting is terrible for a picture so that will have to wait until they are installed. The countertop is in excellent condition and I like the color. So this was a big money saver!
 |
| Countertop with faucet. |
The gutters I found on Craigslist for $25. They are a heavy duty vinyl and were only used for a few months. The person was remodeling and wanted a different color. I will wash them out and they are just the right length for our Kozy Kottage.
 |
| 3 sections and hardware to install gutters |
|
We have been trying to figure out whether to connect to the power grid temporarily while building or go another route. After talking to the power company and other people we decided to stay off grid and get a generator, in addition to, solar for power source. We already have solar panels I found on Craigslist and with the generator we can have back up power if we have a few cloudy days when solar can't provide what we need. I have read more reviews about generators than I care to admit but this was a big investment and I wanted to be sure which one would be right for us. We decided to go with the Husqvarna with the Honda Engine that powers 6800 watts. I found the generator for $400 which is a really good deal since these tend to be in the thousands of dollars. It only had about 100 hours on it and is in excellent condition.

Finally, our bathroom sink that we got off the side of the road with a big FREE sign. We picked this up on the way to my husbands workplace. Appears to be in great condition but we may need to get a different faucet.
A lot has been happening and there will be much more to come! If you have any questions feel free to drop me a message. I know I don't put a lot of building details but I can get those answers from the builder quite easily. Thanks for stopping by and I hope you enjoy reading about our big adventure of going tiny.


 Throughout the last few months my son has been learning important academic and life skills. Homeschoooling doesn't need
fancy textbooks or expensive curriculum. My son has been learning
carpentry at a young age instead of waiting to take a class in high
school or college. When we go on Craigslist trips to pick up supplies
we always go together as a family, (1.) because of safety and I haven't
met anyone yet that would seem harmful but it's better to be smart and
safe (2.) to travel and meet the amazing people and landscapes of New England. My
son is getting to meet people and talk to adults frequently about our
Tiny House build. We met a lady the other day and she said something that I really didn't think about and it really has hit home with me lately. She grew up in a household with a carpenter but never learned the skill. She thought is was an amazing thing that he was learning the skills and he could talk to her about window headers, framing language that I don't understand, the reason for bracing, types of insulation and what we are using, proper use of a miter saw, joist hangers, our experience of tearing down a camper, and so much more. Think of the generations before us that had amazing skills of welding, carpentry, engineering, wood carving, entrepreneurship, etc. Are we really raising a generation of "intelligence" by putting kids in school 8 hours a day then riding a bus for about an hour, quickly eating dinner, running off to a sporting event, doing homework, and then bed. What skills did they learn today from other adults in the community or more importantly, from you as a parent?
Throughout the last few months my son has been learning important academic and life skills. Homeschoooling doesn't need
fancy textbooks or expensive curriculum. My son has been learning
carpentry at a young age instead of waiting to take a class in high
school or college. When we go on Craigslist trips to pick up supplies
we always go together as a family, (1.) because of safety and I haven't
met anyone yet that would seem harmful but it's better to be smart and
safe (2.) to travel and meet the amazing people and landscapes of New England. My
son is getting to meet people and talk to adults frequently about our
Tiny House build. We met a lady the other day and she said something that I really didn't think about and it really has hit home with me lately. She grew up in a household with a carpenter but never learned the skill. She thought is was an amazing thing that he was learning the skills and he could talk to her about window headers, framing language that I don't understand, the reason for bracing, types of insulation and what we are using, proper use of a miter saw, joist hangers, our experience of tearing down a camper, and so much more. Think of the generations before us that had amazing skills of welding, carpentry, engineering, wood carving, entrepreneurship, etc. Are we really raising a generation of "intelligence" by putting kids in school 8 hours a day then riding a bus for about an hour, quickly eating dinner, running off to a sporting event, doing homework, and then bed. What skills did they learn today from other adults in the community or more importantly, from you as a parent?